Article
Origami Sheep
In honor of the theme of this issue, we invite you to enjoy a craft! This design, by origami artist Tony O’Hare, is created to work with paper that is white on one side – or your preferred color for the body – and black on the other – or your desired color or pattern for the face and legs.
Start with a 2x1 rectangle piece of paper. Begin with the black side of the paper facing up.
1. Crease the rectangle in half top to bottom.
2. Fold in two corners.
3. Fold down the right side along the edge of the corners.
4. Mountain fold (meaning the crease points upward) the top portion behind.
5. Squash fold the left-hand point. To create the squash fold, fold the corner down to create a crease and lift it back up. Separate the layers of paper at the left corner like you’re creating a pocket, and then press that down to create a diamond shape.
6. Petal fold (close-up view). Fold the edges of your diamond shape into the center vertical line. Then open the folds back up.
7. Open out the top layer of the petal fold. You do this by gently lifting the upper layer of your diamond shape. When you lift that layer, fold along the same creases you just made, this time folding inside of that lifted layer. Working with one side at a time, push from the back to gently release the layer, revealing the colored side of the paper.
8. Pleat points to form the ears.
9. Separate layers by pulling the point gently. You are lifting and separating just the top layer of paper where the face is.
10. Fold the tip of the nose underneath.
11. Fold head in half.
12. Fold flap over to the left. Repeat behind (mirror this step on the other side).
13. Tuck flap into pocket. Repeat behind. There will be a small “pocket” behind the fold that has the ear. You’re tucking the paper inside itself, following your existing fold lines, and it will leave the small triangle of the ear sticking out.
14. Valley fold (so the crease is pointing downward) the left-hand flap over, bottom edge up.
15. Fold the top edge over. Fold behind bottom portion. Turn over.
16. Valley fold the corners, from the center vertical crease to the lower corner, to form the legs.
17. Tuck flap into the pocket on the back of your sheep. This will tuck the colored side of your paper into the white, leaving only the feet exposed.
18. Valley over left-hand point, making a vertical fold and keeping the bottom edge aligned.
19. Bring out the inner layer.
20. Fold the corner down, then sink it inside. From the bottom of the sheep, separate the paper creating a pocket. Push the paper in to recreate the fold inside the pocket, resulting in the same placement of the foot.
21. The back will look like this. Now turn back over to the front.
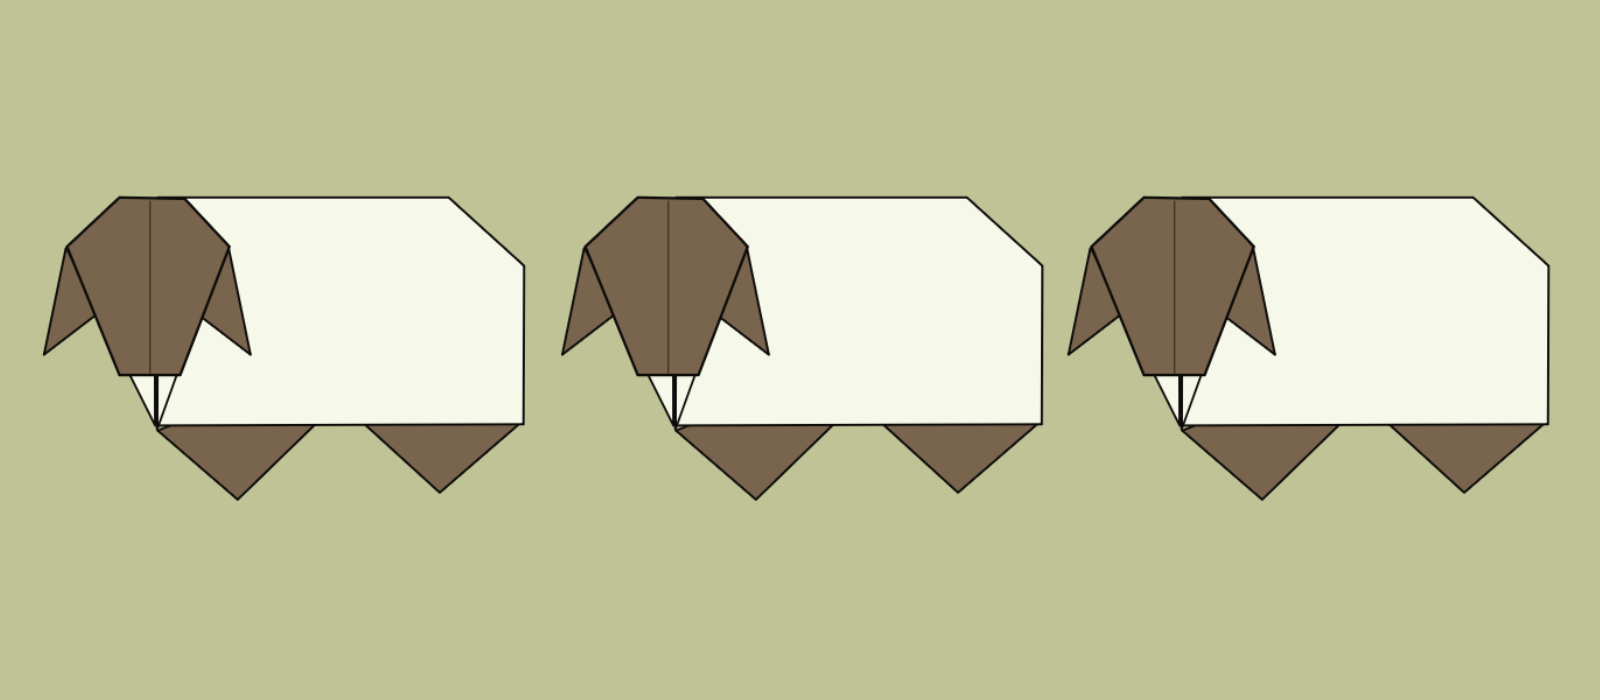
22. Completed sheep!
To see more from The Craft Issue, click here to explore the digital version of Blackberry Magazine.