Story
previously on farm stories
Perler Bead Crafts at Camp
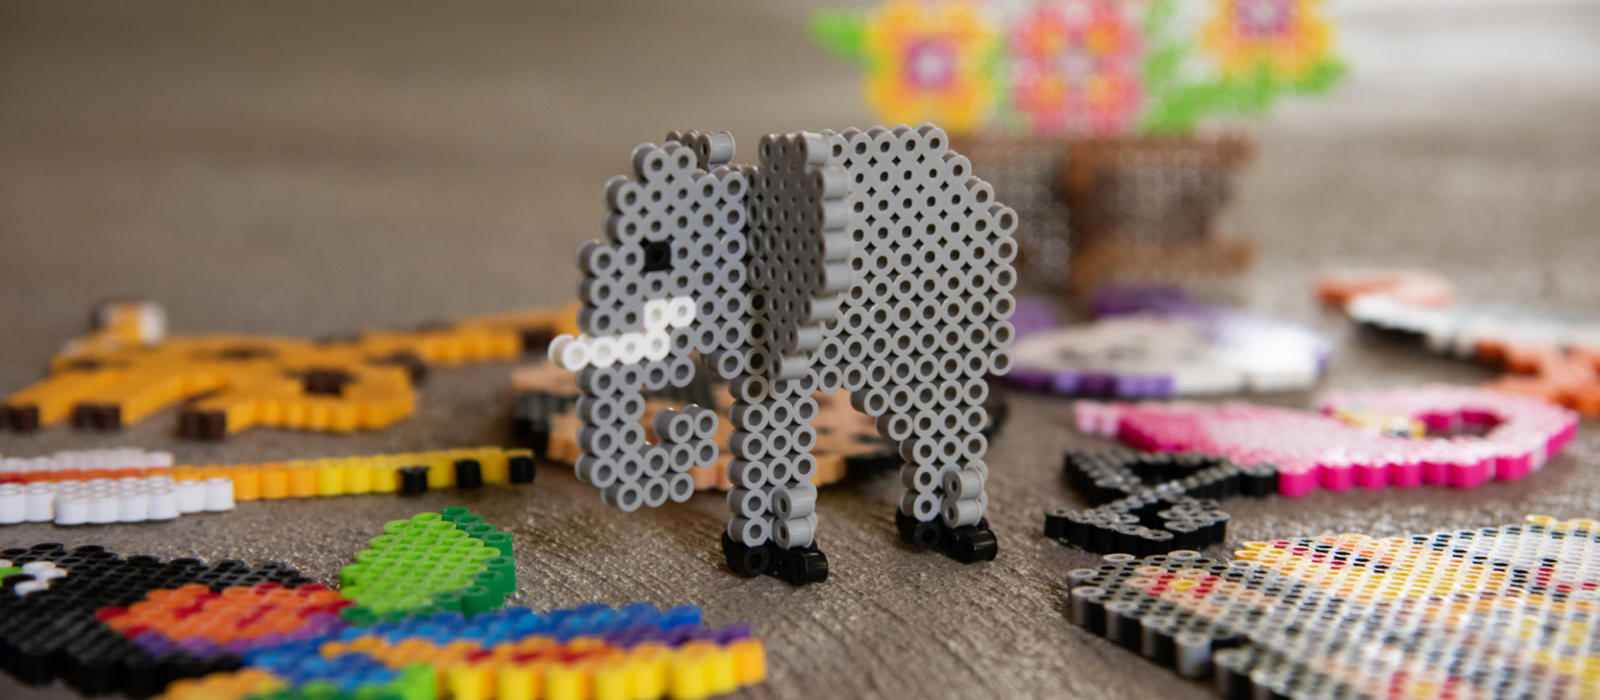
Perler beads are a fun way for children to get creative and crafty in any season. From animals and scenery to holiday projects and keychains, kids can create a project suited to any interest. Plus, it’s fun!
Step 1
Pick your project! You can create anything you’d like with perler beads, so there’s endless opportunity to be creative and have fun. There are lots of pegboard templates available, but we like to encourage Camp Blackberry campers to create their own design. Picture what you want and go for it! Utilize different colors and shapes and figure out how you want to form your design.
Step 2
Arrange your beads on a pegboard. Pegboards ensure that the small beads stay in place as you work on your design. If you’re not using a pre-shaped board, you can shift the beads around until you create the shape you’re wanting.
Step 3
Place a piece of wax paper over the beads. With your iron set on low heat, press gently over the entire design. You want to fuse the beads together without pressing hard enough to distort the design. Gently lift the wax paper. The beads should be fused together well enough for you to flip it over. Place the wax paper back over the design and iron that side.
Learn more about perler beads and get inspired with project ideas on perler.com.