Story
previously on farm stories
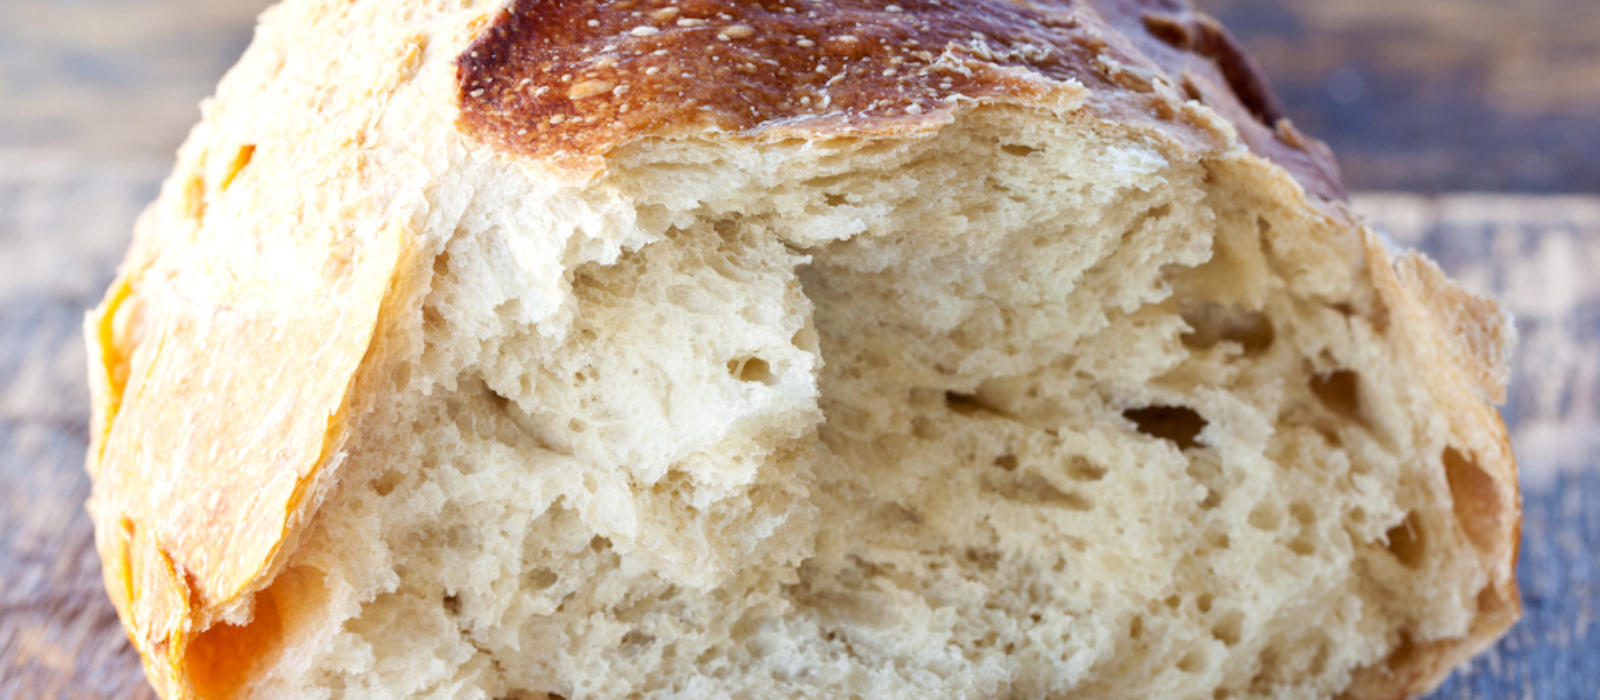
Sourdough for the Home Baker
The most important thing in making sourdough bread is creating a sourdough culture that you can work with. It usually seems very foreign and mysterious, but creating a sourdough culture at home isn’t that hard, but you do have to be ready for some upkeep.
Sourdough is a type of preferment. When you ferment a portion of your bread dough before you mix it, you start to create different, more interesting flavor profiles. The other type of preferments are: poolish, biga, sponge and prefermented dough. All the preferments except sourdough are made for a one-time use.
With a sourdough starter, you maintain the culture by feeding it flour and water. It is best to feed your starter twice a day and is a must the first week. If I have already lost your interest, it is important to know that you can purchase sourdough starter as well from companies such as Sourdoughs International, King Arthur Flour, Northwest Sourdough or Friends of Carl. You may even ask a local bakery if you could purchase some of theirs. A young sourdough starter won’t have the depth of flavor that an already established sourdough starter will have, but don’t let that stop you from trying to make your own.
To begin, use whole wheat flour and water. Tap water will work fine unless you find that your water has too much chlorine. In this case, you should opt for simple drinking water or spring water but not distilled. Also, you want the temperature of the water to be about room temperature. If the water is too cold, it will take much longer for anything to happen. On the other hand, if the water is too hot, you may kill any of the microorganisms that you are trying to feed. You want the microorganisms naturally found in whole grain flour and natural water to begin the sourdough process. You can stick with whole wheat or switch to unbleached bread flour later in the beginning process.
In a small bowl, mix together ¼ cup flour and ½ cup water. Cover the container with plastic and let it rise at room temperature for about 12 hours. If you have a clear container to put the mixture in, it’s easier to see if you’ve had any movement. When the 12 hours are up, “feed the mixture” by adding another ¼ cup flour and ½ cup water. Again, let it sit out at room temperature in a container that is big enough for the mixture to double in size. This is considered day one.
For the next four days, you’ll repeat the process but with one critical step: You must throw out half of the starter each time you feed. If you don’t, you will have a ton of starter that doesn’t have enough food to maintain itself and will eventually smell foul and die off. On day three, if you’d like to switch to white flour, this is the day to do so. We maintain our starter at Blackberry Farm with white bread flour. This is a good base for many different sourdough breads like wheat and even rye. Here’s what the recommend feeding schedule looks like:
Day 1: Feed ¼ cup flour and ½ cup water; 12 hours later, feed ¼ cup flour and ½ cup water.
Day 2: Pour off half of the mixture and then feed ¼ cup flour and ½ cup water; 12 hours later, pour off half and feed ¼ cup flour and ½ cup water.
Day 3: Pour off half of the mixture and then feed ¼ cup flour and ½ cup water; 12 hours later, pour off half and feed ¼ cup flour and ½ cup water. *Here is where you can switch to bread flour if you choose.
Day 4: Pour off half of the mixture and then feed ¼ cup flour and ½ cup water; 12 hours later, pour off half and feed ¼ cup flour and ½ cup water.
Day 5: Pour off half of the mixture and then feed ¼ cup flour and ½ cup water; 12 hours later, pour off half and feed ¼ cup flour and ½ cup water.
Now your culture should start to have a sour smell and should be doubling in size between feedings. This is now useable sourdough culture and you can make bread on day six. If you want to make bread on day six, only pour off ¼ of the starter and increase your feeding to be sure that you have enough for the recipe and also to still feed the culture.
If you want sourdough culture at your house but don’t plan on baking bread everyday (and really who has time for that), you can keep it in the fridge. Give the sourdough a feeding and put it in the fridge in a container big enough that the starter can double in size. Take the starter out of the fridge two days before you want to bake to bring it back to temperature and begin the feeding schedule to get it active again. Remember, if it doesn’t rise between feedings, it won’t rise in the oven either.
Here is our sourdough formula as we make it at Blackberry Farm. This should yield you about two to three loaves of bread. Measure out:
- 3 ⅓ cup unbleached bread flour
- 2 ¼ cup water, room temperature
- 1 teaspoon yeast
- 1 Tablespoon salt, iodized (if wanting to use kosher, measure 1 ½ Tablespoons)
- 1 ¼ cup sourdough starter
With your hand, break up the starter in the water. Then, add your flour mixture. Turn the mixer on low until the flour becomes moist. After all the dry ingredients are incorporated, turn the mixer to medium speed and mix for ten minutes. The dough will come together but still be a little sticky. At this point, you can take the dough off the mixer and knead by hand with a little flour.
Place in a well oiled bowl and allow to rise at room temperature for 15 minutes. If you plan on baking the bread in a free form, flour heavily with cornmeal, a sheet pan or pizza peel. This method also requires you to preheat a baking stone in the oven (this will best replicate the bread at Blackberry). Place the stone in a cold oven and heat the oven to 440ºF or up to 500ºF depending on your oven. Split the dough into two pieces and roll into round balls. Allow to proof, covered with plastic wrap or a towel, on the sheet pan or peel.
When double in size or the dough begins to split, score the bread with a serrated blade or very sharp knife. Slide the boules onto the hot stone and spray the oven with the water bottle, or drop an ice cube on the bottom of the oven to create steam. Bake at 440ºF for 35-40 minutes. Remove from the oven and allow to cool completely before serving or storing.
Here are the directions if you’d like to make this bread in loaf form:
Preheat your oven to 440ºF. Have ready a spray bottle filled with water. Split the dough into two equal pieces and roll oblong to fit the length of the loaf pan. Proof, covered, in the pans until double in size or the dough starts to split. Score the tops of the loaves and place in the oven.
Spray the sides of the oven with water and quickly close the door, or drop an ice cube on the bottom of the oven to create steam. Do this twice in the first minute of baking. Then, leave the door closed and bake for about 35-40 minutes. When the loaves are finished baking, remove them for the oven and allow to completely cool before serving or storing. Ideally, serve the bread the next day for the most complex flavors.